Previously, we sent a group of Lego astronauts to an altitude of 35,000m using a weather balloon filled with helium. This project was a huge undertaking, and there was a lot of learning for both myself and the pupils. We had to apply for permission for the launch from the civil aviation authority, and then had to contact air traffic control on the morning of the launch to get clearance. Our launch slot was set for 5.30am, and children and parents (some still in pyjamas) came to watch. As the balloon rose through the atmosphere, it expanded until it finally burst. Our Lego astronauts then returned to Earth with a parachute, and thanks to a GPS tracker and the power of Raspberry Pi, we could locate it and recover the on-board GoPro camera. I had never seen a group of young students so engaged in their schoolwork. To replicate this success, at the end of the last academic year, we designed and built retro arcade machines and games to play on them.
The idea for the arcade project came about as the cohort of pupils I had last year had a strong interest in retro video games and Japanese culture. We had an old Nintendo 64 set up in the classroom and the children were slowly making progress through The Legend of Zelda when they had a few minutes of free time here and there. Through my own research into the MakeCode platform, I discovered that some people had built functional arcade machines using Raspberry Pi and some fairly cheap components. I was inspired, and got to work planning the project.
Building excitement
To launch the project, I arranged a class visit to Four Quarters East, a retro arcade bar in Hackney Wick, London, which is packed with vintage arcade machines and games consoles. The manager kindly agreed to open up early for us and the children spent the afternoon playing on old Pac-Man and Space Invaders machines, competing for high scores and reviewing the games they had played. They also had the opportunity to look at how the cabinets casing the machines had been designed. We returned to school full of enthusiasm for the project and bursting with plans for our own games and machines.
We later spent one afternoon looking at the work of the French street artist Invader. He creates mosaics inspired by the Space Invaders game and hides them across different cities around the world. The children loved his work, and some had even seen some of his mosaics close to our school in London. After this introduction, we created our own paper mosaics in the same style and ‘invaded’ our school site with them. This added to the excitement around the project, as suddenly there were computer game characters popping up all over the school.
Video game history
After whetting learners’ appetites, the next step was to research the history of video games. We went back to the dawn of the industry and looked at pioneers of gaming such as Tomohiro Nishikado, who developed Space Invaders. It was fascinating to see his original sketchbooks. Here, he planned his code and designed his characters by mapping out the pixels based on his initial drawings — something we would revisit later when designing our own game characters.

A parent of one student also put me in touch with her brother, who designed characters and scenes for several computer games in the eighties and nineties. He kindly agreed to hold a video call with the class to talk about his work and answer their questions. One game he worked on was the original Jurassic Park game for Amiga, and he showed us his design process for some of the dinosaurs in the game. The children were fascinated by his work and career, and could then play the game and see his work in action using Raspberry Pis running RetroPie.
Our research into video game history also led us to the work of software engineer Jerry Lawson, who developed the technology to store a game on a removable cartridge. Prior to this, gamers needed to buy a new console every time they wanted to play a new game. Lawson’s work thus paved the way for modern-day consoles. Jerry Lawson unfortunately passed away in 2011, but the children wrote letters to his family to show their appreciation for his work, and we received a friendly response from his son.
Research and planning
At this point, I split the children into small groups and they created their own fictional games studios. The groups all came up with a name and logo for their studio and started discussing the types of games they would like to make based on their interests and the games they had enjoyed playing at the arcade. The hardest aspect of this was trying to contain their excitement! I had to explain that their games would not be rivalling the latest PlayStation or Xbox releases, but that they could make something which was fun and that people wanted to keep playing. Once they knew the type of game they wanted to make, they began to map out how it would work and what it would look like by sketching their backdrops and characters. I spent some time working with each group to help them figure out how their ideas could translate into code based on the limitations of the platform.
Coding in MakeCode Arcade

At this stage, as we began coding our games, the project started to become very real. We used the MakeCode platform (makecode.microbit.org), which was new to my students. Over their years in primary school, though, they had developed their coding skills using Scratch, and so the block-based system wasn’t too unfamiliar. To introduce them to MakeCode, we used BBC micro:bits. They learnt how to program the micro:bits’ push buttons to display different images, and how to take readings from the on-board sensors and display them. Some students even programmed their micro:bits to send and receive messages via Bluetooth.
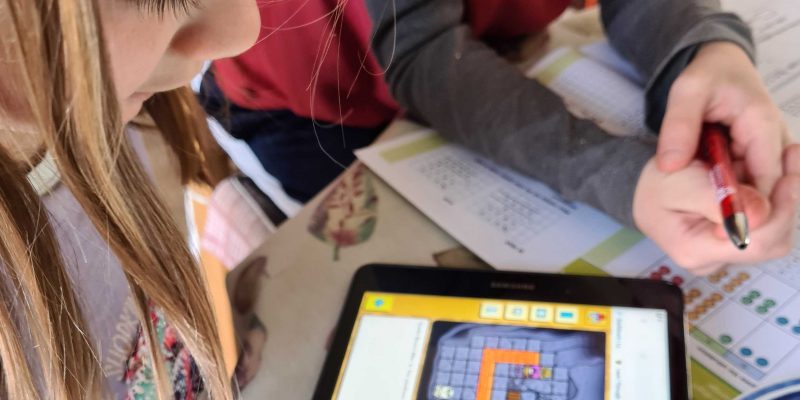
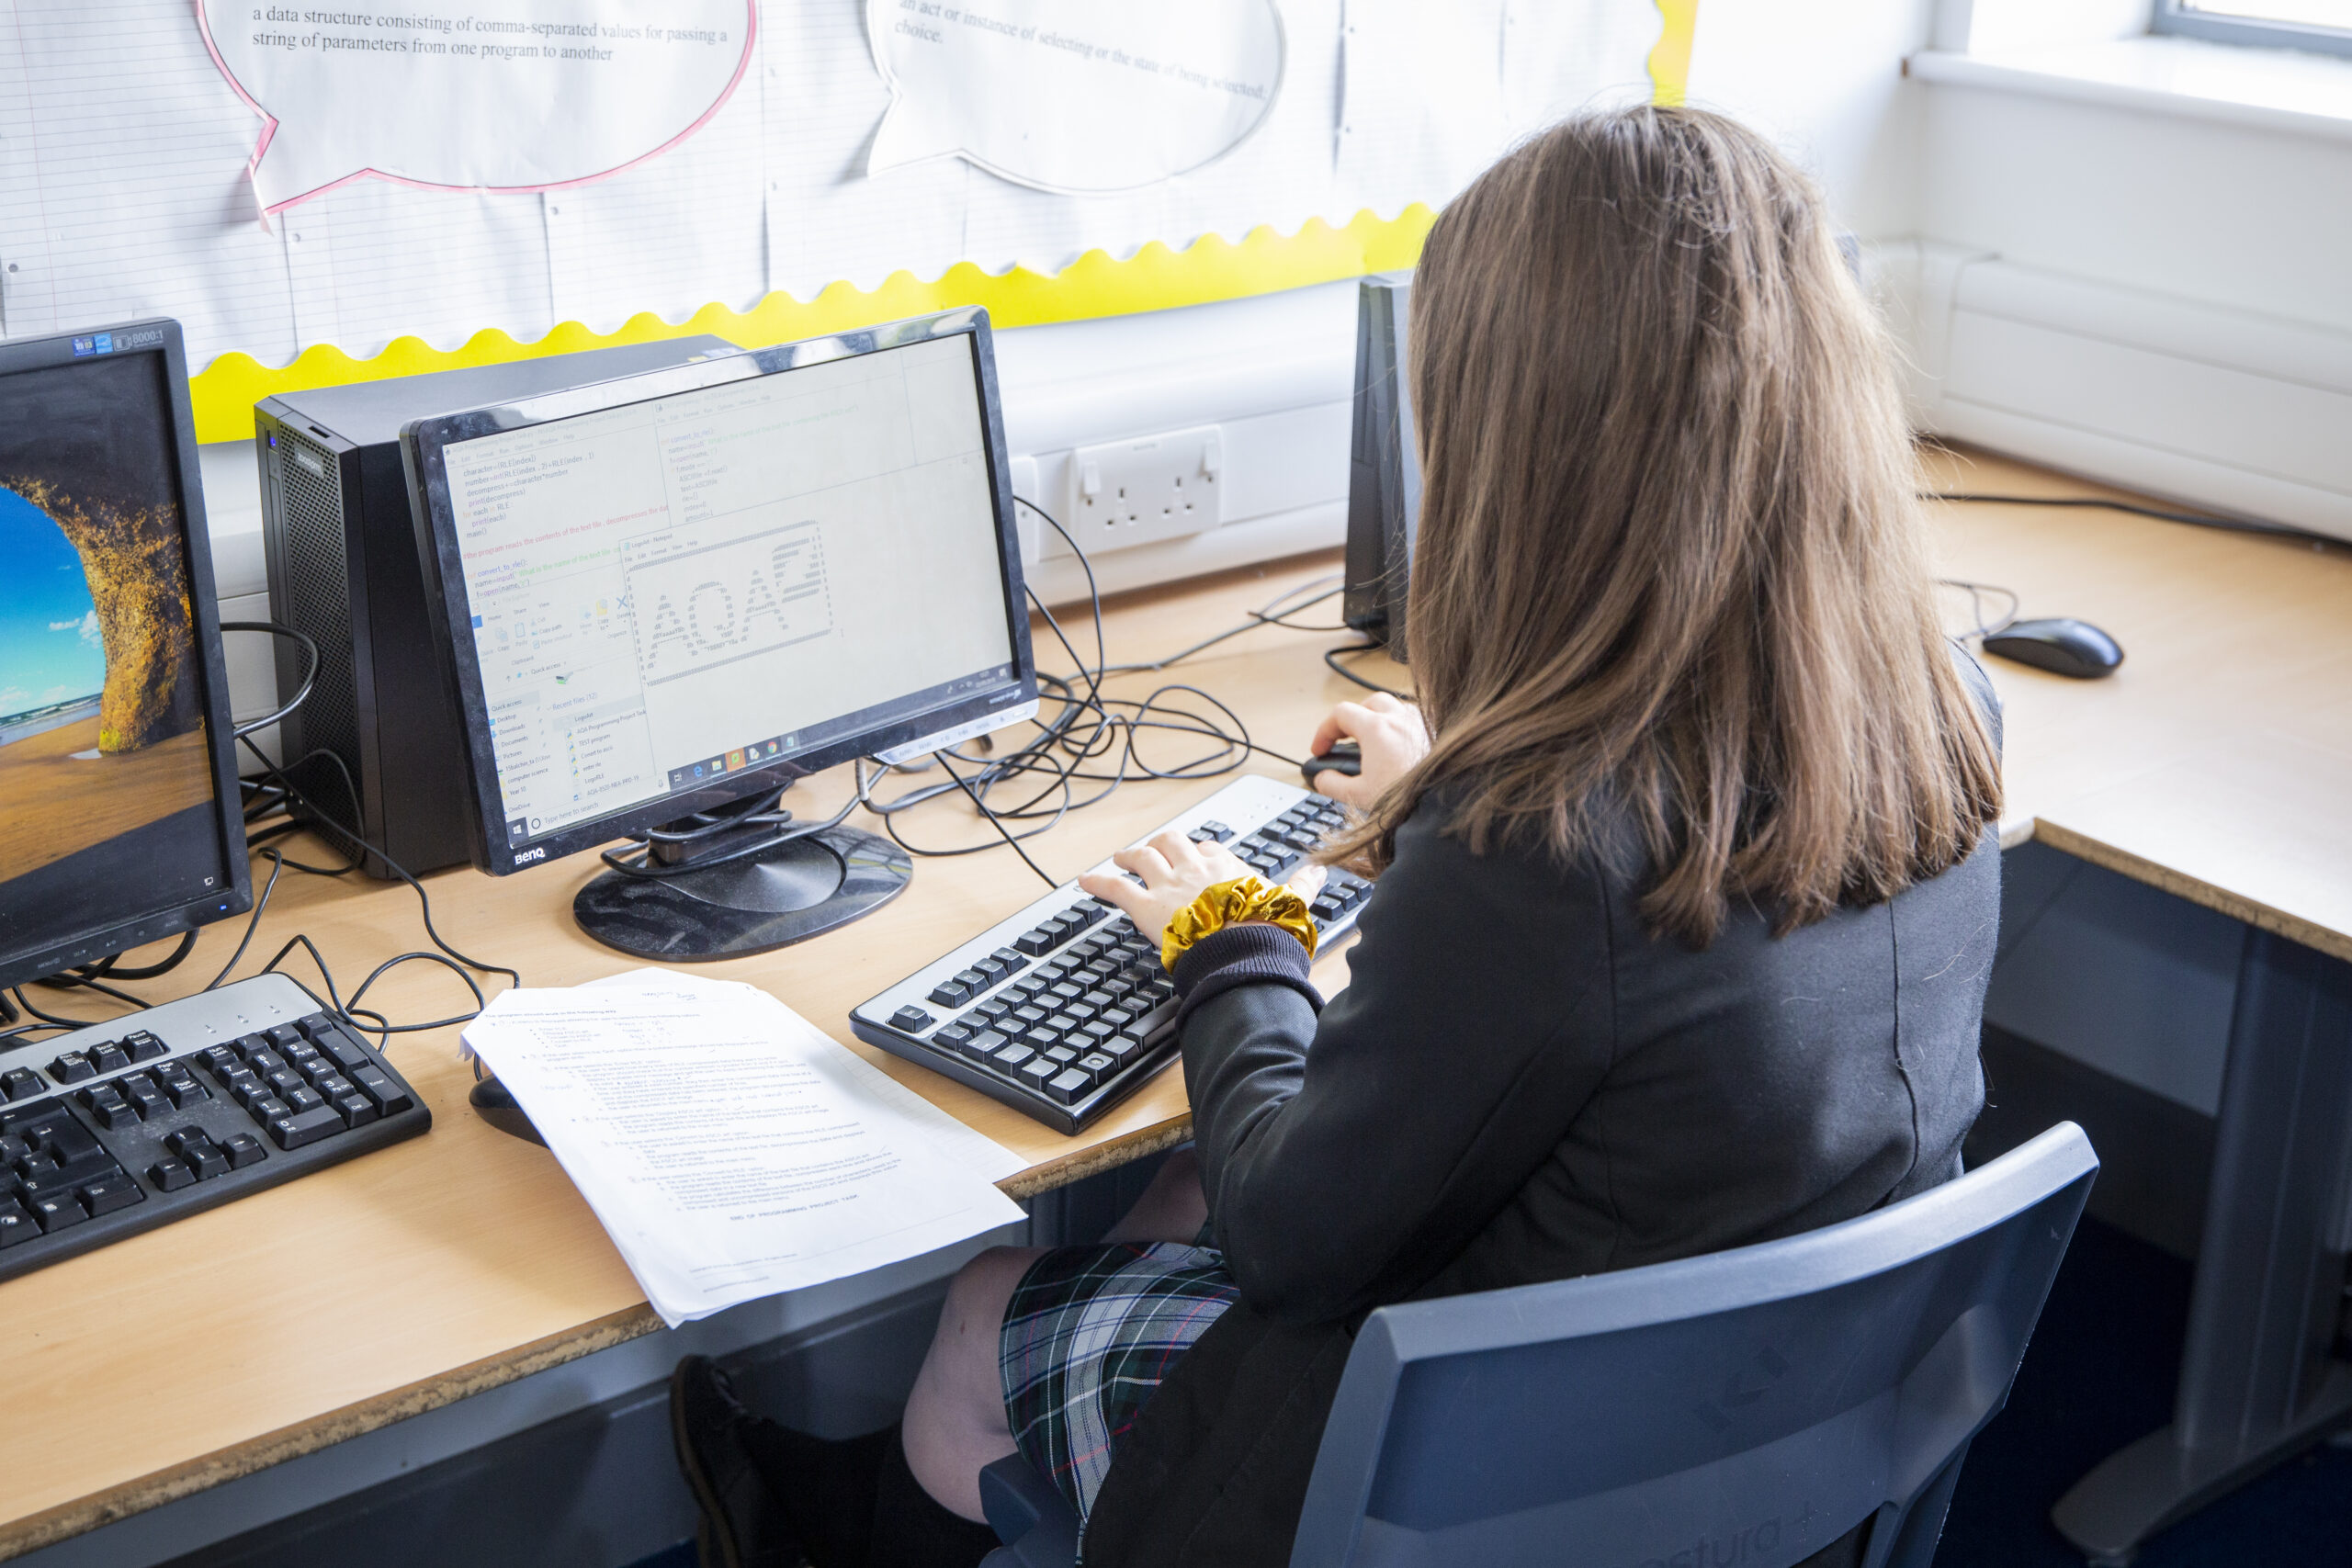
We then moved over to MakeCode Arcade (arcade.makecode.com). The children worked through some of the Skillmaps before starting their own projects. Some of our less experienced coders began by adapting the example games, while the more experienced children started games from scratch. They created their assets based on their original sketches and then started to code their games.
To continue bringing the project to life, we next looked at how a good soundtrack can enhance a video game and listened to some famous examples. As a class, we learned how to play the Super Mario Bros. theme tune using Boomwhackers (colour-coded plastic tubes tuned to a musical pitch by length). The children then composed their own soundtracks using glockenspiels before recreating them in MakeCode. Some children who had created level-based games figured out that they could increase the tempo of their soundtracks each time the player progressed to the next level, to add tension and enhance the player’s enjoyment of the game.
Designing and building the machine
We ran a whole-school competition to design the cabinet that would hold the machine the children would run their games on. We gave the children the option to either submit a 2D design or create a 3D model of their design from a net. The submissions were incredible, and the process of deciding the winner was so tough that I decided to combine some of the designs and make two machines. With the winners announced, I got to work ordering the materials and components ready for construction.
To work out how big the cabinets needed to be, the children measured the height, eye level, and elbow height of children from across our school and calculated the averages. We then used these measurements to decide the height and positions of the screens and control panels. We built the cabinets from MDF. I cut out all the panels using a circular saw and a jigsaw, and then the students helped to screw them together. We mounted the screens and drilled holes for the joysticks and push buttons.

We invited the children who had won our design competition to come and paint their designs onto the cabinets. We gave them a couple of coats of emulsion paint in their chosen background colours and then used POSCA pens to add details. The finished products were very different, but both were equally striking.
Raspberry Pi wiring
The children then faced the challenge of wiring up Raspberry Pis to the joystick and button in the control panel, and the monitor. This proved to be quite tricky. For this project, we used Raspberry Pi Zeros, as their functionality is more than adequate and this allowed us to keep costs down. We installed the Arcade.Cardboard disk image from the MakeCode Arcade website onto our SD cards (helloworld.cc/cardboard). We then used the pre-installed RPI Configurator program to ensure that we wired up our buttons to correspond to the correct functions. Once the wiring was complete, we were able to test our machines using some of the example games from MakeCode. It was great to see the pupils’ reactions, as we now had two functional arcade machines!

Time to play
The last step was for the children to test and debug their games before downloading their code and transferring it onto the SD cards so that they could play the games on the arcade machines. All the games were fantastic, and most importantly, very playable. We had recreations of classic arcade games, platform games with multiple levels, games based on football and basketball, and even games set in our own school featuring staff members as enemies. On the first day, we put both of the machines in the school playground and had huge queues of children wanting to play during their break times. The machines now move around the school on rotation, so that all of the children get a chance to play on them and become inspired to create their own games.

The project turned out better that I could possibly have imagined. The children were so enthusiastic about it that they spent huge amounts of their free time working on their games. Most importantly, the amount of learning that took place throughout the project was incredibly satisfying. The project covered age-appropriate national curriculum objectives from computing, science, maths, English, music, art, and design technology. Plus, the children could see how the skills they had learnt in class were useful in a real-life situation.
They also developed their collaboration skills: I even had children arranging video calls with each other so that they could continue to work on their games together at the weekend. What’s more, they developed resilience when things went wrong, and learnt to work methodically to solve any issues that arose. The MakeCode platform made this project possible, and I would be more than happy to help other teachers carry out a similar project with their pupils!